Herringbone Stitch Tutorial
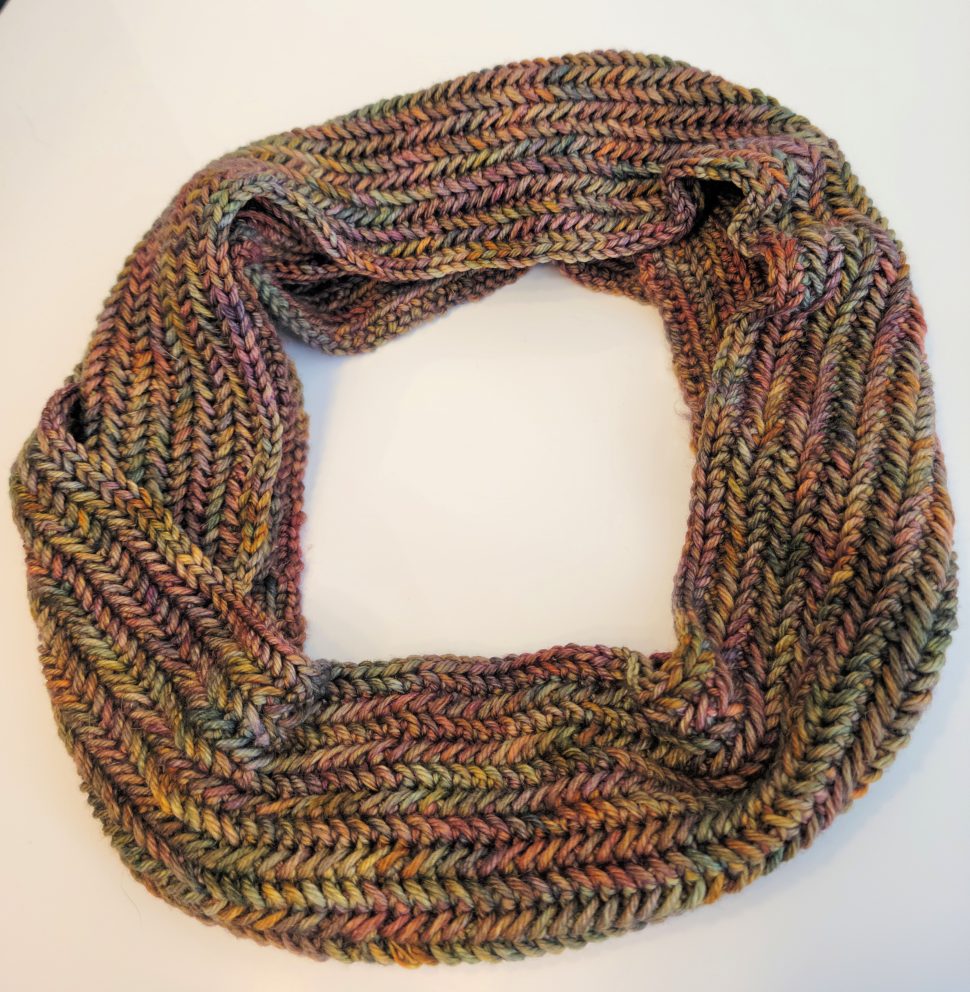
I love any crochet piece with texture and one of the most interesting and beautiful textures, in my opinion, comes from the Herringbone Stitch. It can be tricky at first, mostly because you have to crochet the even rows from back to front to keep the pattern all on the same side. But once you have the hang of it, it’s really not difficult. If you bought my scarf pattern and you need a little help with it, I’ve posted a photo tutorial for you here.
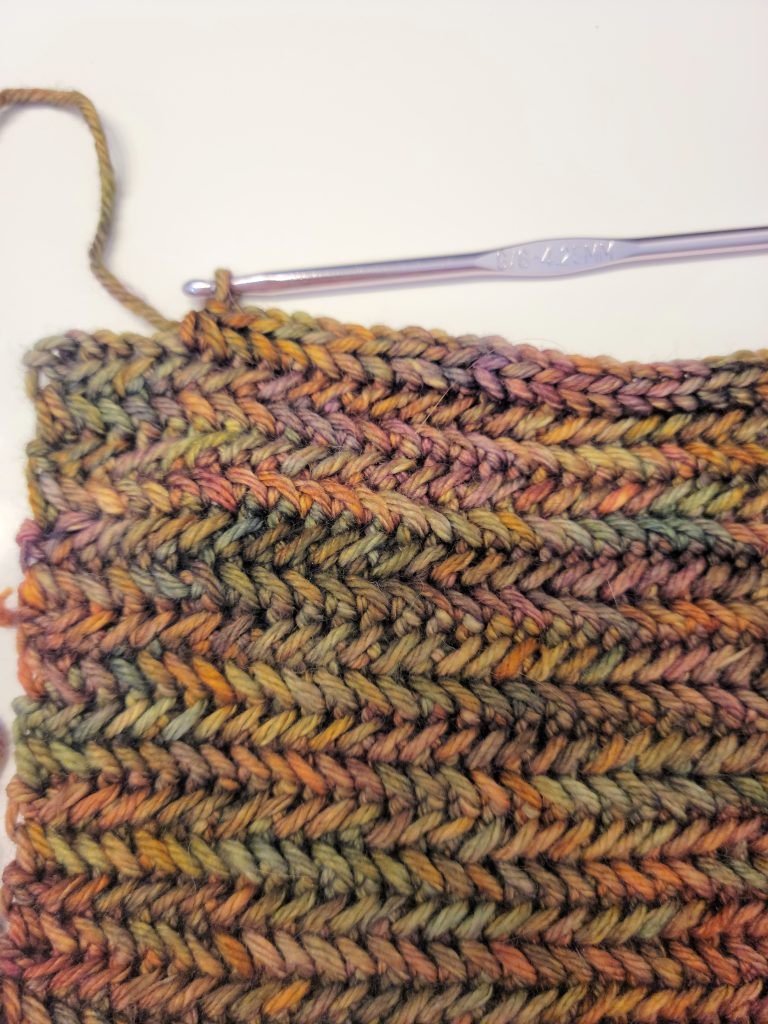
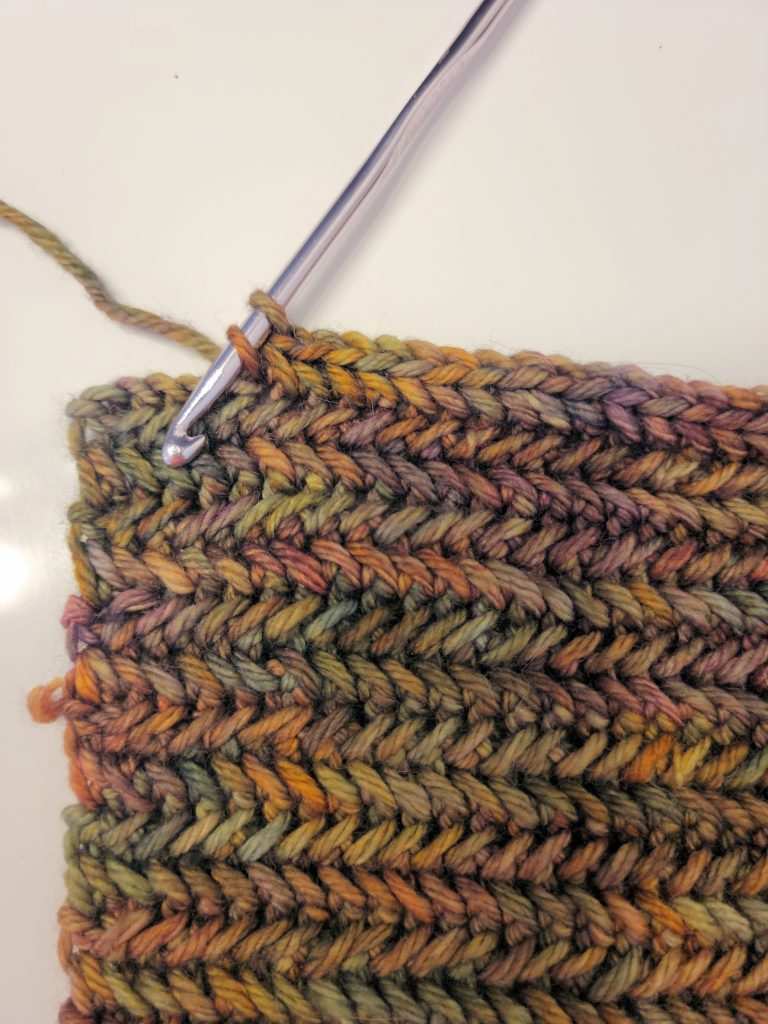
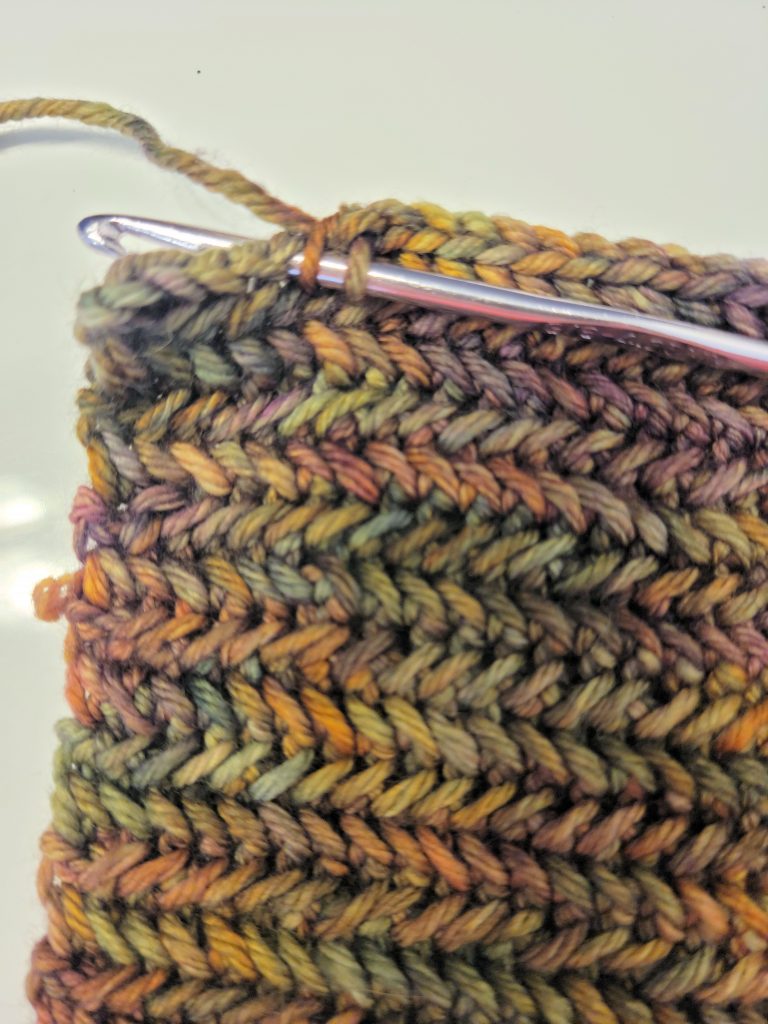
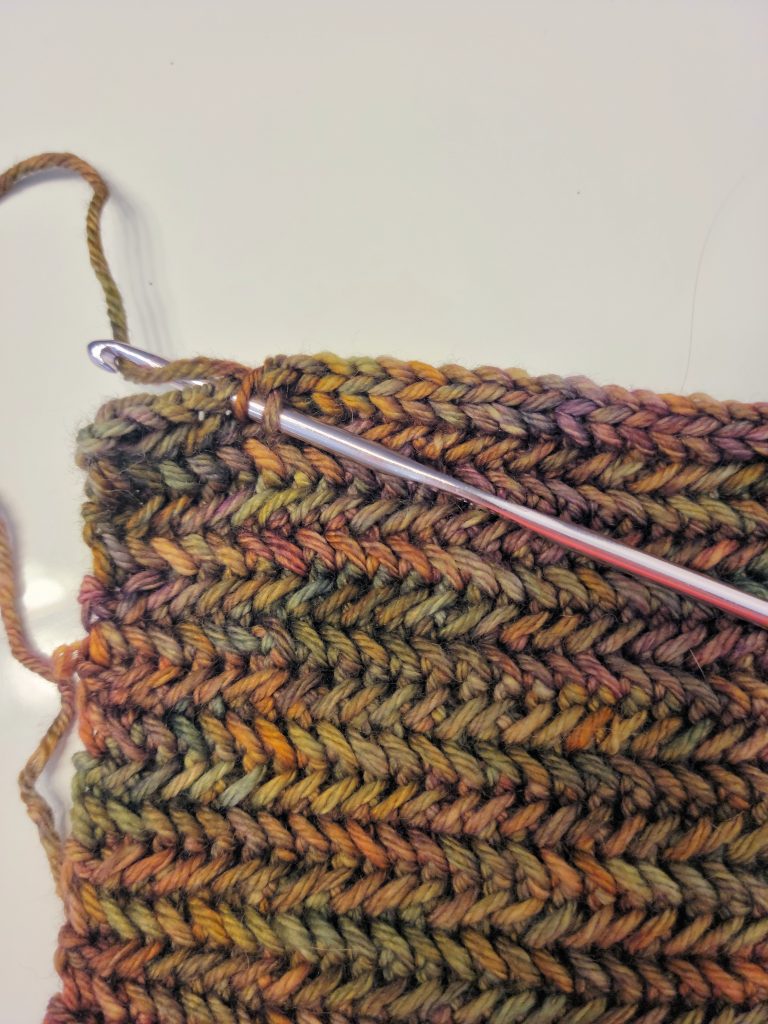
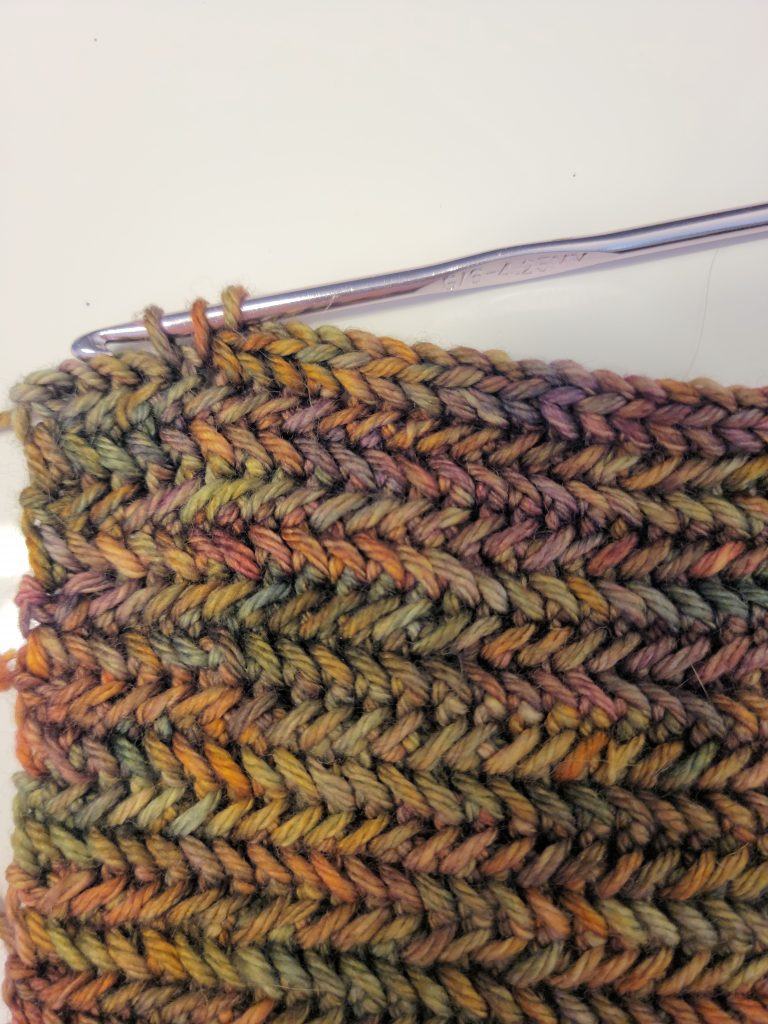
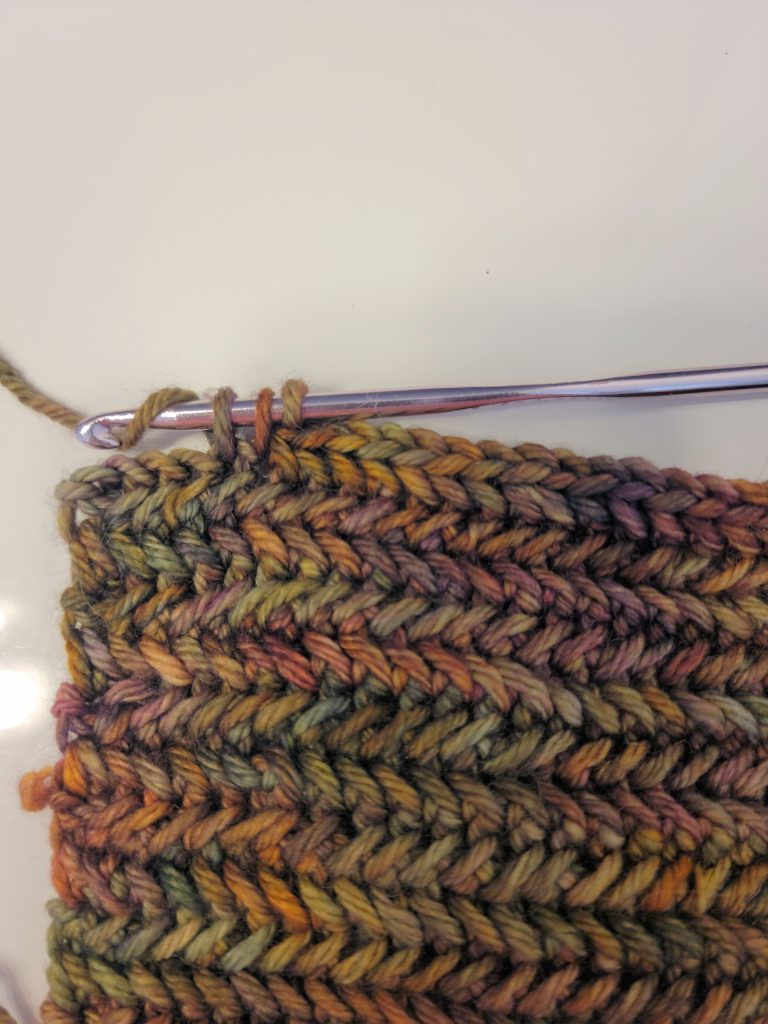
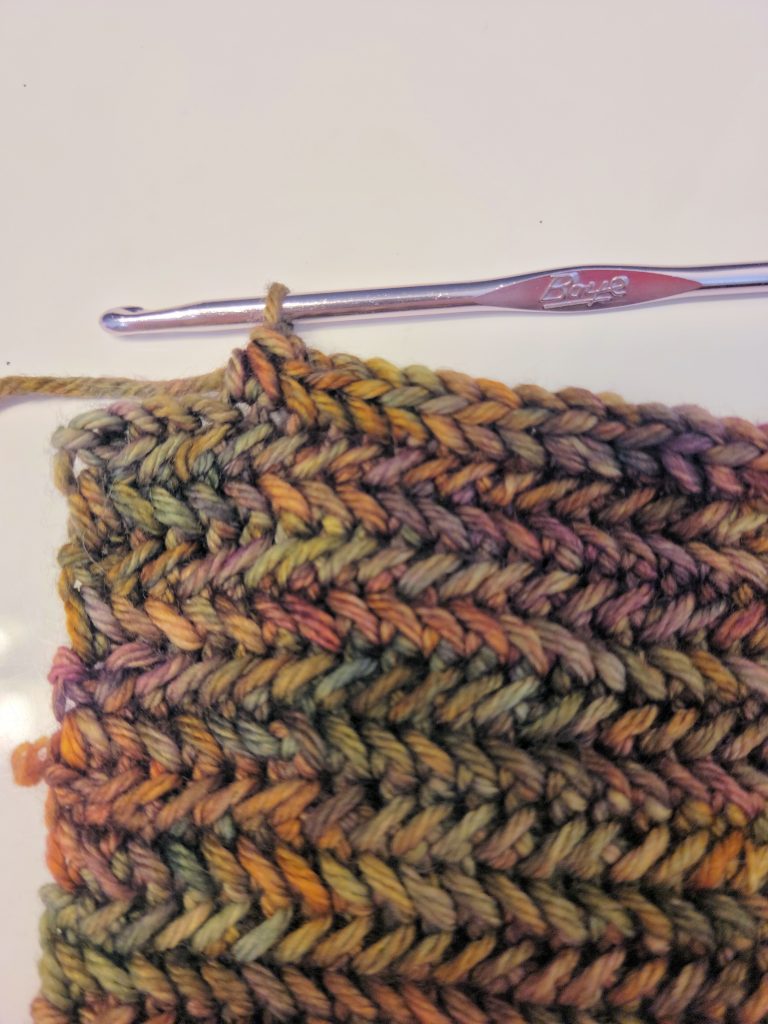
To begin a row of Herringbone stitch, you always start with a single crochet. This provides that first vertical bar through which you insert your hook. To do even numbered rows, you work with the right side still facing you and insert your hook under the left-most vertical bar at the BACK of the work. Then insert your hook into the chain from back to front. Everything else is worked in the same manner and once you get the hang of working back to front, it’s smooth sailing.




Leave a Reply