A Giant Crochet Doily Rug for Our Living Room
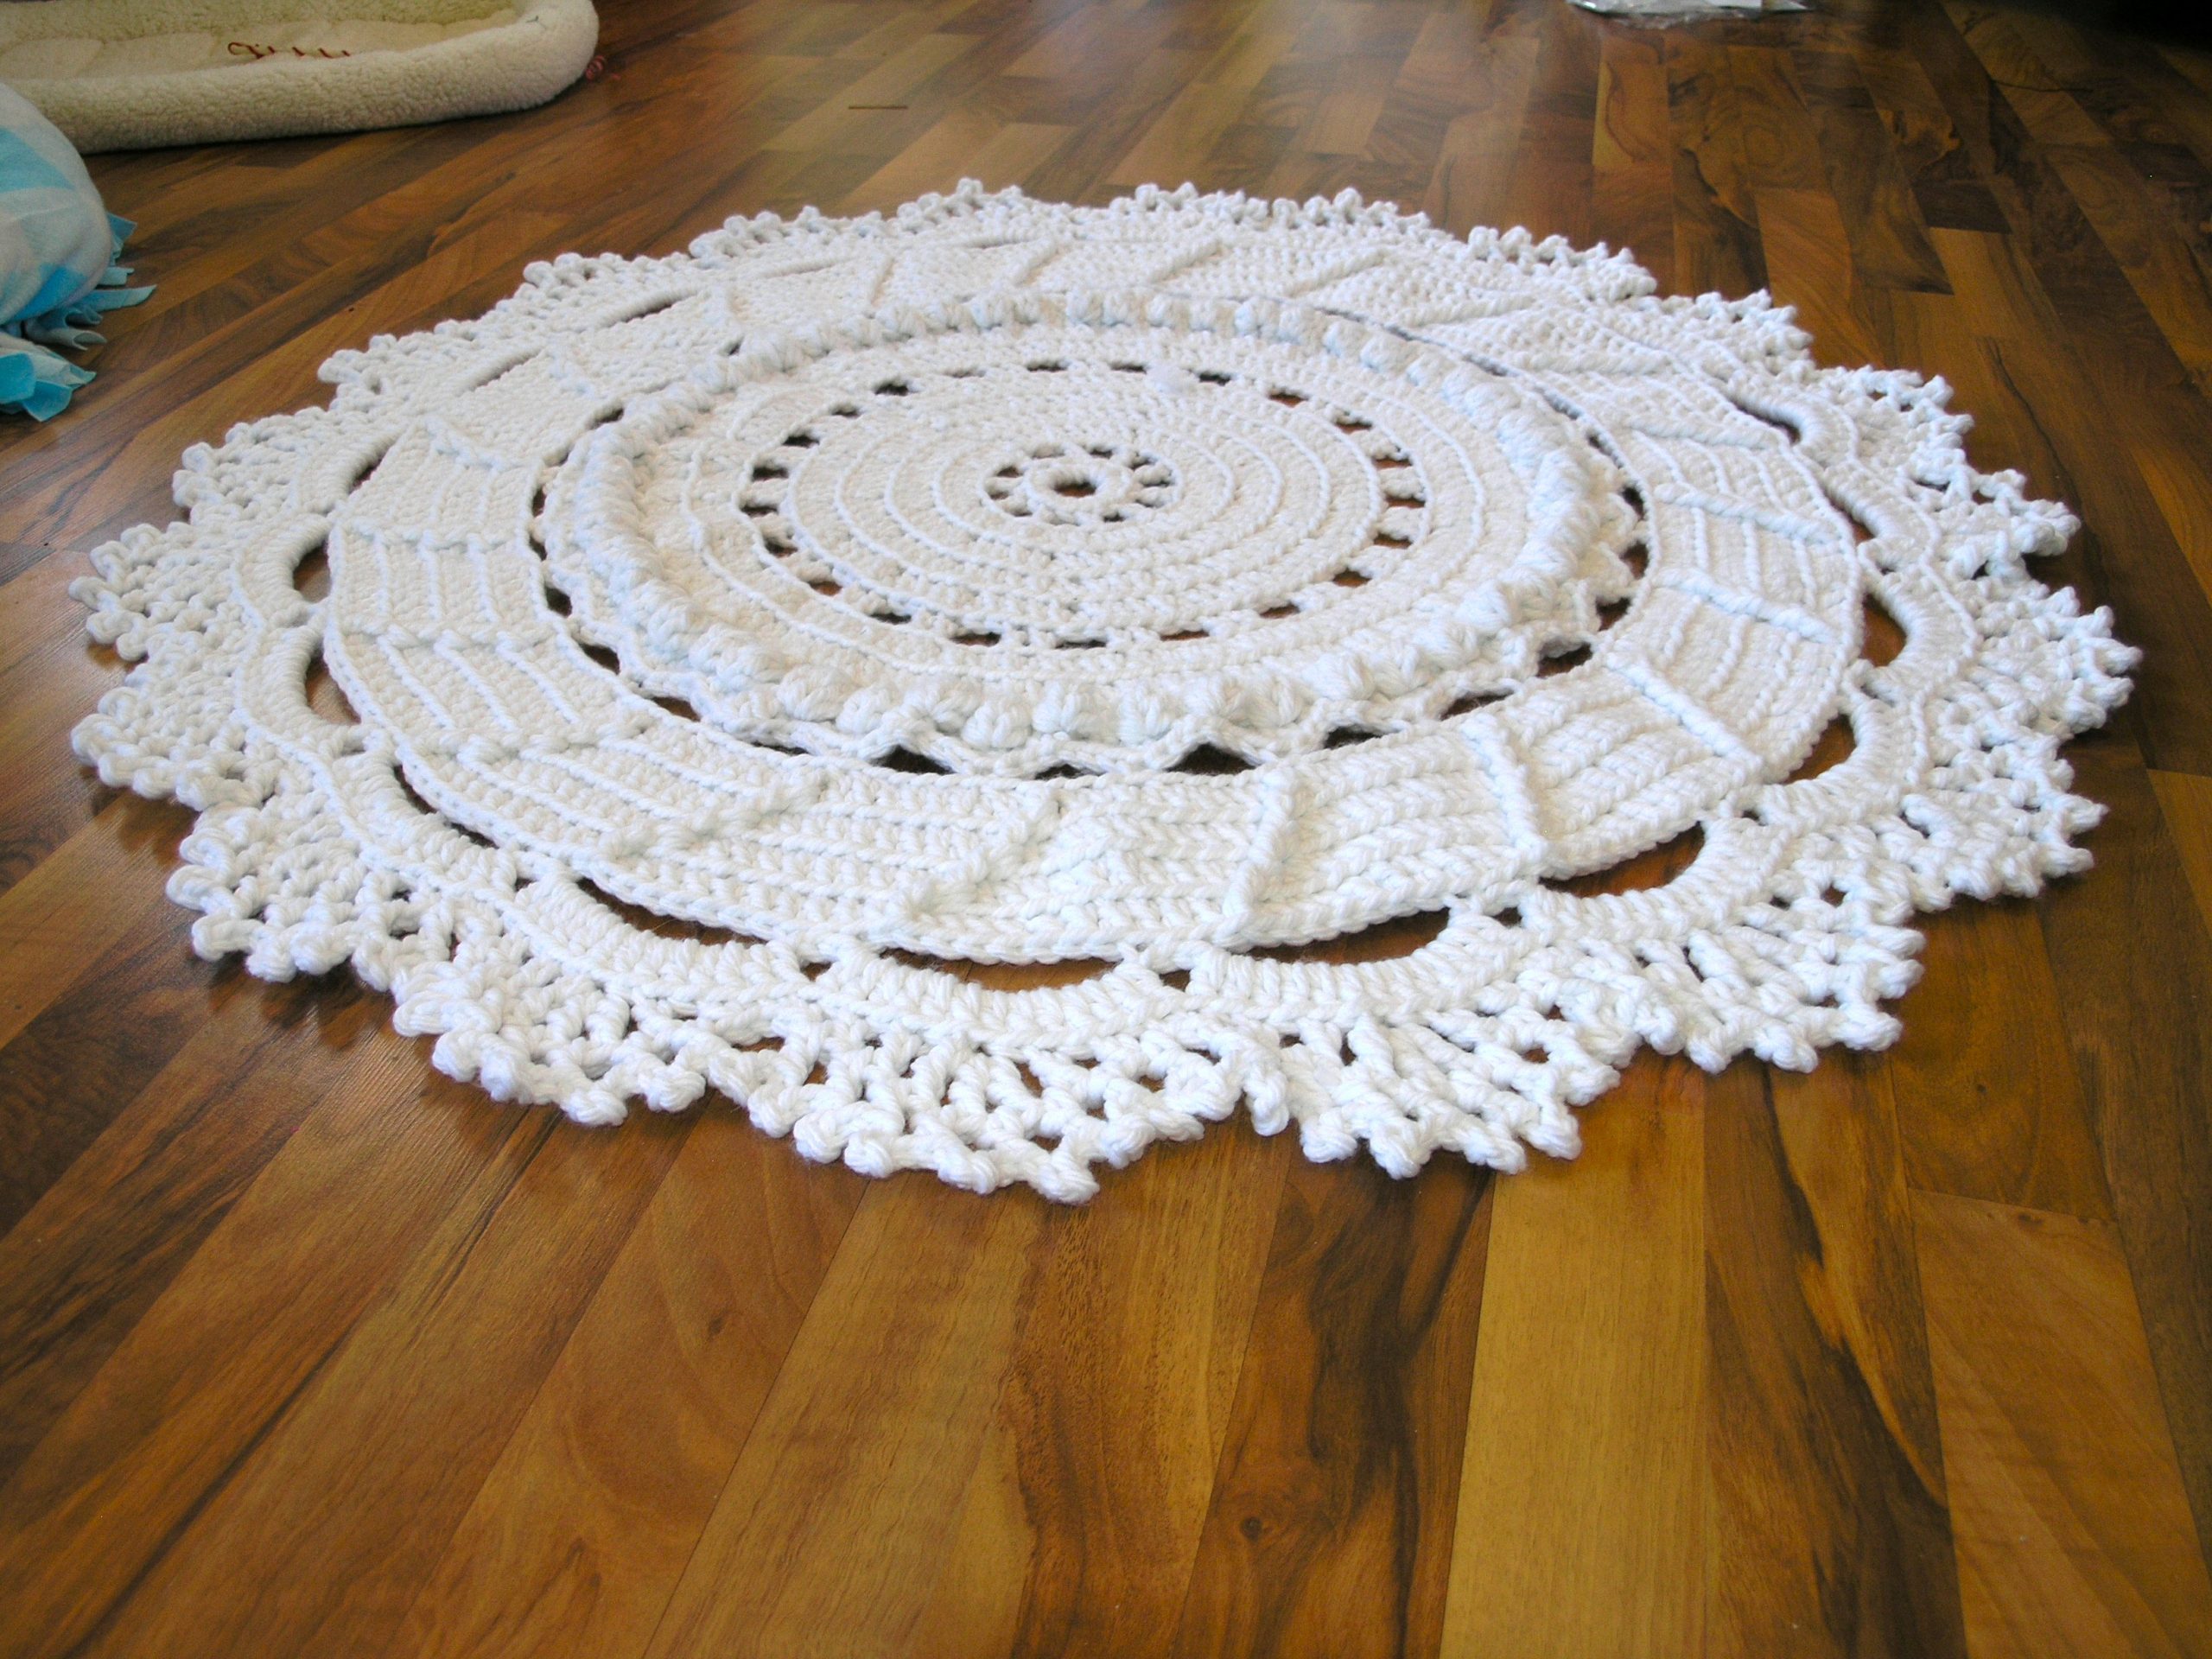
You’ve all seen the pictures on Pinterest for that giant doily rug. I repinned it myself. It’s just gorgeous and it led me to search for others of its kind. Sadly, there are many out there, but no one has bothered to offer up tutorials or patterns. Two weeks ago, I set out to correct this by making one of my own. I will warn you, what you’re about to read will be painful. It was painful as I was going through it, but the results were worth every single agonizing moment.
I ripped this apart and re-started three times. Varying parts of it were done, redone, and torn out no less than six times. I suffer from a terrible amount of OCD when it comes to such things. Every part of it had to be perfect or it wasn’t worth doing. The finished product is perfect (for me at least) and measures 45 inches in diameter. There are bobble stitches, picots, arches, and fringe. But no part of this rug is all that hard. It is mostly worked in chains and double crochet. And so, without further ado, I offer up the amazing, delicious, yarn-guzzling giant doily rug.
For this project, I wanted something softer than what the other people were achieving with their rope crochet, so I used Lion’s Brand Hometown USA in New York White, 9 skeins of it. It is VERY chunky and VERY soft and gave me just what I wanted. I also used a Size N (9 mm) crochet hook. I will warn you, after a few hours of this, your wrists and hands will HURT. It’s still worth it.
Special stitches: PICOT — Chain 3, slip stitch into first chain. BOBBLE — YO, insert hook into stitch, YO, draw through 2 loops (do this 5 times until you have 6 loops on your hook), YO and draw through all loops. Slip stitch into same stitch.
Gauge: It doesn’t matter. Just keep your tension even throughout and everything will be fine.
With white, ch 8. Join to create circle.
Row 1: Work 20 DC into circle.
Row 2: Ch 4 (counts as first DC and ch 2). Skip 1 st, DC in next st, ch 2 around. Join with sl st. (30 st)
Row 3: Ch 2 (counts as first DC). DC in same st, 1 DC in next st. *2 DC in next st, 1 DC in next st. Repeat from *. Join with sl st. (45 st)
Row 4: Ch 2 (counts as first DC). DC in same st and next 3 st. 2 DC in next st. *DC in next 3 st, 2 DC in next st. Repeat from *. Join with sl st. (56 st)
Row 5: Ch 2 ( counts as first DC). DC in same st and next 3 st. 2DC in next st. *DC in next 3 st, 2 DC in next st. Repeat from *. Join. (70 st)
Row 6: Ch 2 ( counts as first DC). DC in same st and next 3 st. 2DC in next st. *DC in next 3 st, 2 DC in next st. Repeat from *. Join. (88 st)
Row 7: Ch2 (counts as first DC). DC in same st. *Ch 3, sk 2 st, DC in next 2 st. Repeat from *. Join. (110 st)
Row 8: Ch2 (counts as first DC). DC in same st and next 3 st. 2DC in next st. *DC in next 3 st, 2 DC in next st. Repeat from *. (140 st)
Row 9: Ch2 (counts as first DC). DC in same st and next 4 st. 2DC in next st. *DC in next 5 st, 2 DC in next st. Repeat from *. Join. (168 st)
Row 10: Ch 2 (counts as first DC) DC in next st. *Work bobble in next st, DC in next 2 st. Repeat from *. Join. (168 st)
Row 11: Ch 1 (counts as first sc). Hdc in next st, dc in next st, tr in next st, dc in next st, hdc in next st, sc in next st. *sc in next st, hdc in next st, dc in next st, tr in next st, dc in next st, hdc in next st, sc in next st. Repeat from *. Join. (168 st)
Row 12: Sl st into next 2 st, sc in tr st, ch 5, sk next 6 st, sc in next st (in tr). *ch 5, sk next 6 st, sc in tr. Repeat from *. Join to first sc. (144 st)
Row 13: Ch 2 (counts as first DC) DC in same st and next 5 ch. 2 DC in next st (top of sc), *Dc in next 5 ch, 2 dc in top of sc. Repeat from *. Join. (168 st)
Row 14: Ch 2 (counts as first DC) DC in same st and next 4 st. *FP DC around st directly below and left of the st you just DC in. DC in next empty st (this will be behind and slightly to the right of the BP DC you just made) and in the next 6 st. Repeat from *, ending in 3 DC. Join. (189 st)
Row 15: Ch 2 (counts as first DC) DC in same st and next 3 st. *FP DC around previous FP DC. DC in next empty st (this will be behind and slightly to the right of the BP DC you just made) and in the next 3 st. Reduce one st. DC in next 2 st. Repeat from *, ending in 4 DC. Join. (189 st)
Row 16: Ch 2 (counts as first DC) DC in same st and next 2 st. *FP DC around previous FP DC. DC in next empty st (this will be behind and slightly to the right of the BP DC you just made) and in the next 3 st. Reduce one st. DC in next 2 st. Repeat from *, ending in 5 DC. Join. (189 st)
Row 17: Ch 2 (counts as first DC) DC in same st and next st. *FP DC around previous FP DC. DC in next empty st (this will be behind and slightly to the right of the BP DC you just made) and in the next 3 st. Reduce one st. DC in next 2 st. Repeat from *, ending in 6 DC. Join. (189 st)
Row 18: Ch 1. Sc in same stitch. *Ch 9, sk next 8 st, sl in next 3 st. Repeat from *. Join.
Row 19: Sl st into 9-ch sp. Ch 2 (counts as first dc), 13 dc in each ch-9 sp. Join.
Row 20: Ch 1. sc, ch 1, sk 1 st, hdc, ch 1, sk 1 st, dc, ch 1, sk 1 st, (tr, ch 1, tr, ch 1, tr, ch 1) in next st, sk 1 st, dc, ch 1, sk 1 st, hdc, ch 1, sk 1 st, sc. Repeat once for each 13-dc arch. Join.
Row 21: Sl into first ch 1 sp. Ch 2, dc, picot, ch 1, *dc into next ch 1 sp, picot, ch 1. Repeat from *. Join. Tie off.
PLEASE NOTE: I may offer this as a PDF at a later time. It all depends on how much free time I have and how much the software ticks me off. LOL In any event, this pattern is mine, it is original, and you may use it to your heart’s content, so long as you do NOT redistribute it or reprint it. Anyone caught selling it or claiming it as their own will be tracked down by my crack team of rabid lawyers and made to suffer. I’m not kidding. Not even a little bit. But please feel free to link to this page and share as much as you like for free, provided that you give me credit. This was a LOT of work and produced streams of curse words that even I didn’t know I knew. So give me my due. LOL Enjoy!
Trish




forget that request about size…I made it much bigger…now i can see. duhhhhh
Thank you very much for this free pattern! Your rug is beautiful!!
Thank you, Thank you! I have been searching for a pattern too. This is sooo appreciated!
(I’m at row 11.) I’m dealing with a wrist issue so I have to hold back :(. I’ve made a few mistakes, specifically too many stitches and realised the tension is all wrong and had to go back. The most painful of which was doing twice the required bobbles. Even as an almost beginner I can see that inventing patterns would have been such painstaking meticulous work so thank you for doing this and sharing the pattern.
Finally! I can’t thank you enough! A pattern with regular yarn and written in English. No video to struggle through!
Can’t wait to rip out the one I was making that I hated to start on this one